How To Install Magento 2 Using Composer

Let’s Follow Below Steps to Install Magento 2 Using Composer:
Step 1 : Install & Setup Composer
First, We Will Understand What Is Composer?
Composer is an open source and widely used dependency management tool for PHP.
It allows the user in developing a project inside the framework referred to. Composer
allows to installation of third-party libraries.
Run the below commands to check if Composer has already been installed or not:
composer -v
You can run above commands and If the command returns composer information, then Composer is already been installed, and you can follow the next step. If nothing displays, or you face any issue or error, please first install Composer.
Following steps to install composer in your server:
curl -sS https://getcomposer.org/installer | php
mv composer.phar /use/local/bin
Now you need to run the same command composer -v to check composer is installed or not.
Step 2 : Download Magento 2.4.3
Create a directory using the below commands.
#mkdir Magento243
#cd Magento243

For example, let’s say we want to download Magento 2.4.3 in our directory.
composer create-project –repository-url=https://repo.magento.com/ magento/project-community-edition:2.4.3
Installation time, you can set any Magento version for your requirements: 2.3.3, 2.3.4, 2.4.1, 2.4.2, 2.4.3
When run above command in prompted, then enter your Magento authentication keys. You can create Public and private keys in your Magento Marketplace.
After complete these commands, all Magento sources were copy to your Magento directory.
Also Read: How to Create Controller in Magento 2?
Step 3 : Set Up Permissions
After Download Successfully, you need to set permission for Magento 2 installation directory.
chmod -R 777 var pub generated
Step 4 : Create a Database
Next, you can create an empty database.
Using below commands to create database.
echo “CREATE DATABASE m2” | mysql -u[mysqlusername] -p
you can run the above command, then Enter your database user password.
Here, database user is “root”.and “m2” is database name.

Step 5 : Install Magento 2
After permissions given and the database is created, then follow Magento 2 installation process.
bin/magento setup:install \
–base-url=http://localhost/magento2 \
–db-host=localhost \
–db-name=magento2 \
–db-user=root \
–db-password=admin123 \
–admin-firstname=admin \
–admin-lastname=admin \
–admin-email=admin@admin.com \
–admin-user=admin \
–admin-password=admin@123 \
–language=en_US \
–currency=USD \
–timezone=America/Chicago \
–use-rewrites=1
After complete above commands, “you will see following page”
[Progress: 1270 / 1270]
[SUCCESS]: Magento installation complete.
[SUCCESS]: Admin Panel URI: /admin_hgsgy
Nothing to import.

Also Learn: How to Create Custom Page in Magento 2?
Step 6 : Install Sample Data
Now we will install sample data using below commands:
php bin/magneto sampledata:deploy
php bin/magento module:enable –all
php bin/magento setup:upgrade
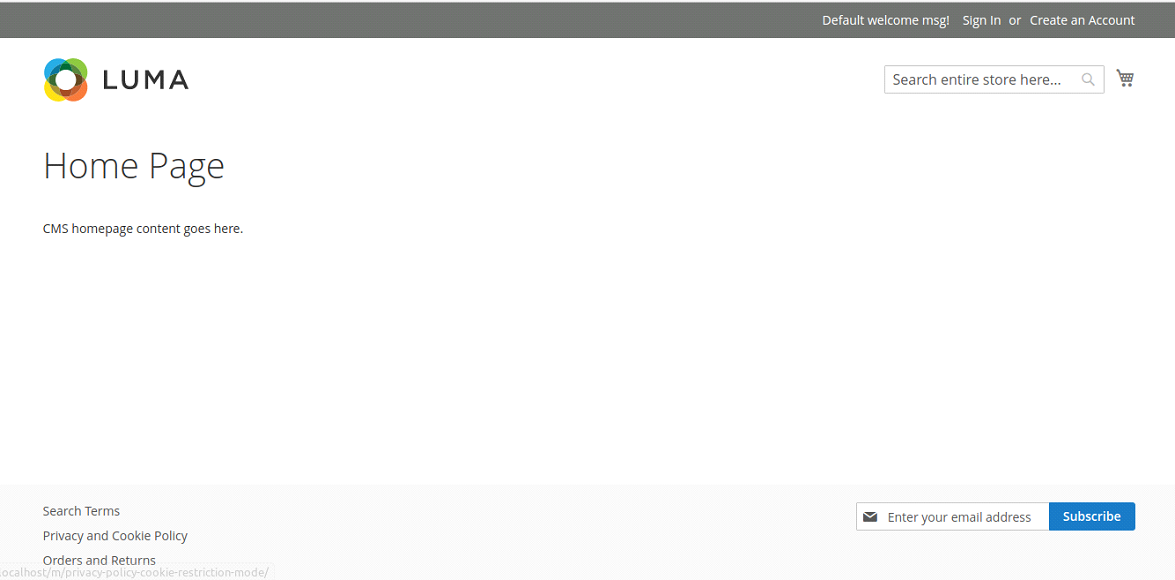
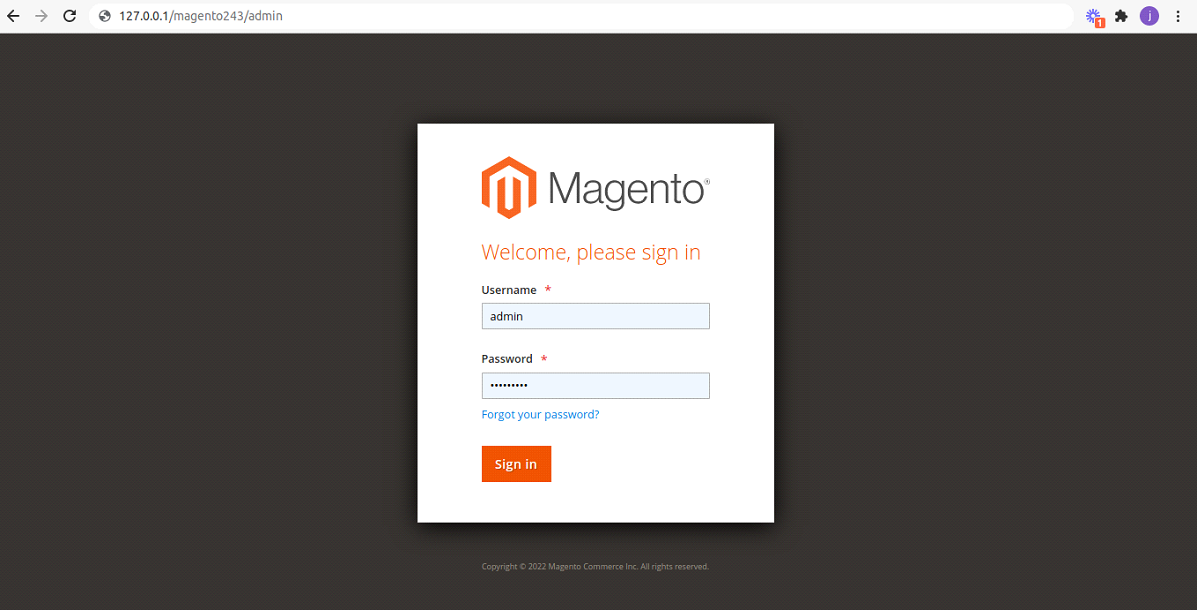
Here, show the frontend with sample data and admin login page.


Conclusion:
We hope the above blog helps you to clearly understand how to install Magento 2 using composer. In case of any kind of problem with the run above commands, you can contact us or let us know in comment section.


